Healthy Eating
How to Pack a Simple Snack Box Lunch for Work Without Buying Special Containers
A practical snack box lunch routine with simple components, safer cold packing, and use-what-you-have containers so work lunches stay easy.
By A Healthy World Editorial Team · July 18, 2026 · 8 min read
A snack box lunch can sound a little unserious until you remember what usually makes packed lunches fall apart: too much prep, one meal that gets boring fast, or a lunch that needs perfect timing to survive the commute. A simple snack box solves a different problem. It turns lunch into a few easy parts you can see, pack, and actually want to eat without building a full sandwich, salad, or leftover meal every single time.
This article is educational only and is not a substitute for food safety guidance for your situation. FDA guidance says perishable foods that need refrigeration should not stay at room temperature for more than 2 hours, or more than 1 hour above 90 F, and fresh produce should be washed under running water before preparing or eating. USDA guidance for bag lunches recommends an insulated lunch bag or box plus cold sources for perishable foods, and FoodSafety.gov cold-storage guidance says many cooked leftovers and prepared salads are best used within about 3 to 4 days. The goal here is practical: make a snack box lunch easy enough to repeat without turning it into a fussy bento project.
A calmer next step
Get one practical reset each week.
Short routines, useful checklists, and the next guide that fits what you are working on.
Start with the reason a snack box lunch helps
A snack box lunch works well when the real problem is not cooking. It is assembly friction. Maybe you are fine eating simple foods, but you do not want to make a full lunch recipe at night. Maybe your workday is easier with a few parts you can eat gradually. Maybe you want more variety than a sandwich without packing five separate mini meals. A snack box is useful because it lowers the decision load while still feeling complete.
The strongest version is not tiny, decorative, or highly segmented. It is just a lunch built from a few reliable categories: something filling, something fresh, something easy to grab, and something that holds up through the morning. That is enough structure to make lunch easier without turning it into a school-lunch performance.
- Use a snack box when you want lunch to be simpler to assemble, not fancier to look at.
- Treat it as a real lunch with a few useful parts, not random snacks with no plan.
- Let the format reduce friction on workdays with low time or low energy.
A snack box lunch is still lunch
The box should help you eat a satisfying midday meal, not leave you scavenging for more food an hour later. The goal is convenience with enough substance to carry the afternoon.
Build the box from four simple parts
Most snack box lunches get easier when you stop trying to invent a new combination every day. Use a repeatable formula instead: one main filling item, one produce item, one crunchy or starchy item, and one extra that makes the lunch feel finished. That extra might be a dip, a second produce item, a small sweet item, or another familiar add-in.
This kind of formula keeps variety under control. You can rotate fruit, vegetables, crackers, wraps, cheese, eggs, hummus, beans, or leftovers without having to redesign lunch from scratch. Repetition is a strength here. It lets you buy overlapping groceries and use them in more than one meal.
- Choose one filling item such as cheese, eggs, beans, tuna salad, chicken, yogurt, or hummus.
- Add one fruit or vegetable that is easy to eat at work.
- Add one crunchy or sturdy item such as crackers, pita, toast points, pretzels, or a roll.
- Add one extra that makes lunch feel complete instead of improvised.
Three easy snack box examples
The best combinations are usually the ones built from foods you already buy.
- Cheese, crackers, grapes, peppers, and hummus.
- Hard-cooked eggs, pita, cucumbers, berries, and a few nuts or seeds.
- Leftover chicken, carrots, apple slices, crackers, and a dip packed separately.
Put this into practice
Make weekday meals easier with default meals, visible food, and low-energy backups.
Use the containers you already have first
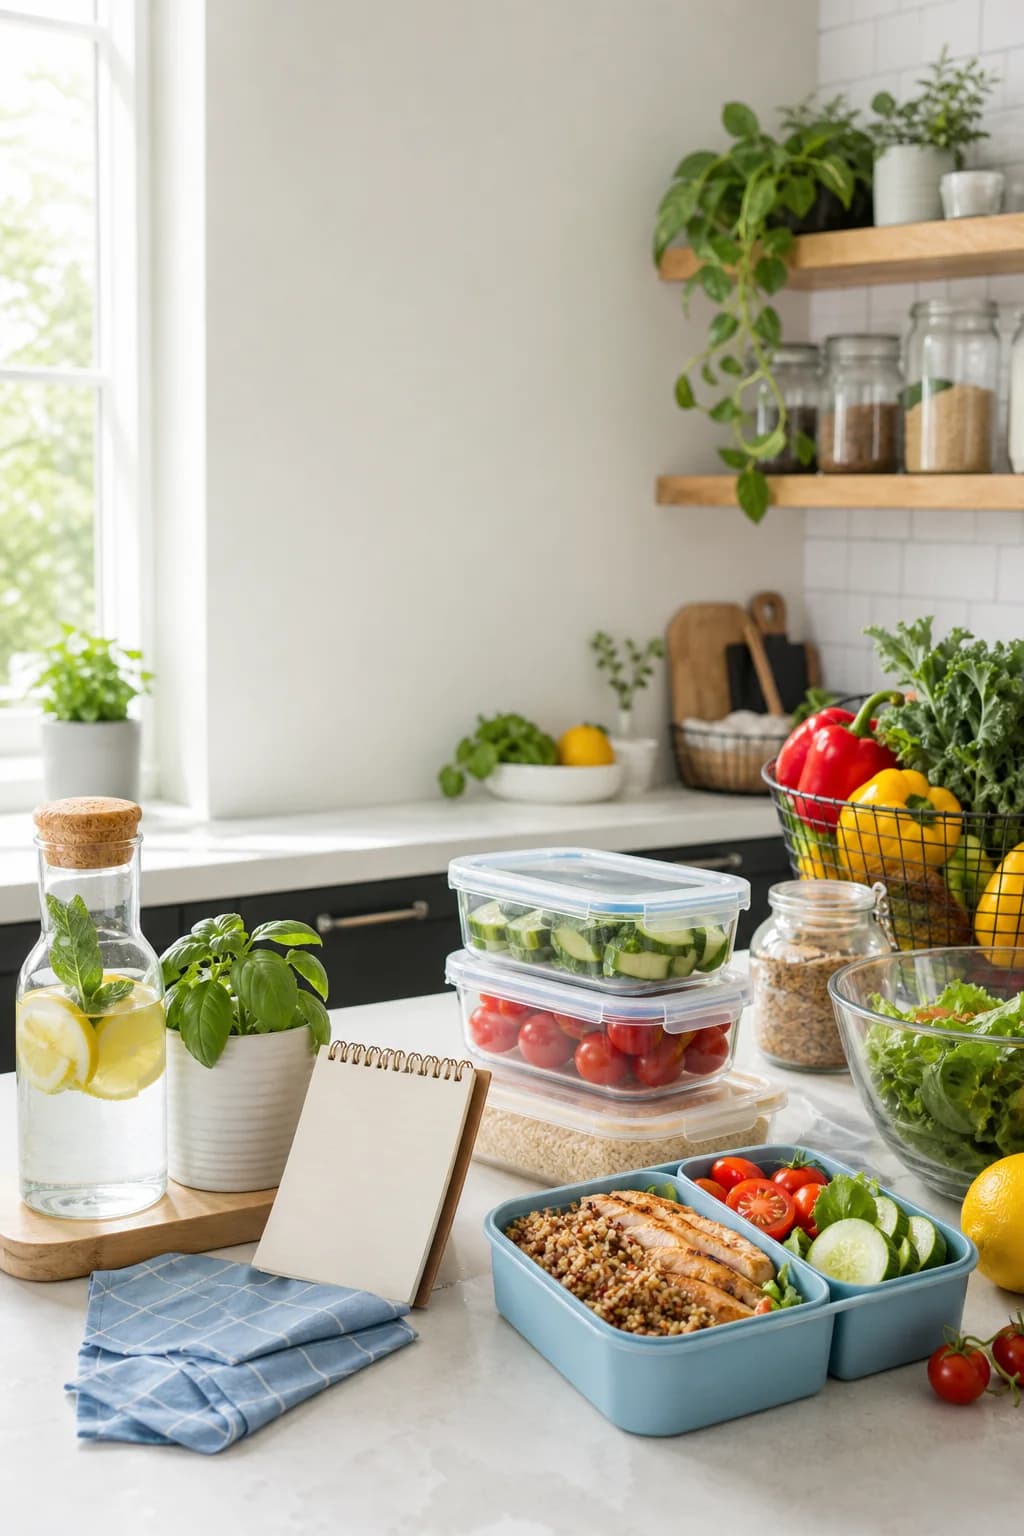
A snack box lunch does not require special bento gear. Small leftovers containers, reusable snack tubs, divided containers you already own, silicone cups set inside a larger container, or even two simple containers packed together can do the same job. If the current containers close well, fit your lunch bag, and make the food easy to see, they are probably good enough to start.
Buying new gear before testing the routine often solves the wrong problem. In many cases the friction is not container design. It is that the lunch parts are not prepped, the wet items leak, or the foods in the fridge have no clear lunch role. A use-what-you-have setup lets you learn that before spending money.
- Start with one larger container plus one or two smaller ones if needed.
- Use divided containers only if they genuinely make packing easier.
- Choose containers that fit the lunch bag you already carry.
Simple container setups that work
One practical setup is a larger container for the main lunch parts plus a tiny container for dip or wetter foods. Another is two stackable containers: one for fresh items and one for sturdier items that can wait until lunch.
Pack moisture on purpose so the box stays appealing
Snack box lunches usually fail for the same reason sandwiches and salads do: water moves where you did not want it. Juicy fruit can soften crackers. Wet vegetables can make cheese or bread less appealing. Dips can leak into everything else. A better setup gives the wettest items their own lane and keeps the crispest items dry until lunch.
This does not need to be elaborate. Often it just means drying washed produce well, using a small lidded cup for hummus or dressing, and keeping crackers or bread separate from anything juicy. The point is protecting texture so the lunch still feels worth opening.
- Dry washed fruit and vegetables before packing them.
- Use a small separate container for dips, dressings, or wetter fillings.
- Keep crackers, bread, and crunchy items away from cut fruit or juicy vegetables.
Treat perishable snack-box parts like any other chilled lunch
A snack box can look casual enough that people forget the food-safety side. But cheese cubes, yogurt, hard-cooked eggs, deli meat, cooked chicken, tuna salad, hummus, cut produce, and leftovers still need cold storage when they are perishable. FDA guidance says foods that need refrigeration should not sit at room temperature for more than 2 hours, or 1 hour above 90 F.
USDA guidance for bag lunches recommends using an insulated lunch bag or box with cold sources for perishable foods. If your snack box includes leftover cooked foods or prepared salads, FoodSafety.gov cold-storage guidance for short refrigerator timelines still matters. The format may be simple, but the storage rules are still real.
- Use an insulated lunch bag or lunch box when the meal includes perishable foods.
- Add cold packs or another cold source when the food needs to stay chilled through the commute and morning.
- Refrigerate the lunch after arrival when possible.
- Use leftover cooked foods and prepared salads on a short timeline instead of guessing later in the week.
Keep produce prep simple and safe
FDA advises washing produce under running water before preparing or eating it, and many packaged items labeled pre-washed or ready-to-eat can be used as sold. That means the snack box does not require a sink marathon, but it does need a clear produce routine.
Use two default combinations instead of seven creative lunches
A lot of snack-box plans get harder because they chase variety too aggressively. Seven different lunches can sound efficient on paper, but they usually create too many ingredients and too many half-used items. Two default combinations are easier to shop for, easier to prep, and easier to repeat.
For example, you might keep one savory combo built around crackers, cheese, vegetables, and fruit, plus one protein-forward combo built around eggs, hummus, pita, and produce. That still gives the week some variation without making the grocery list balloon. A lunch habit gets stronger when it is slightly boring in the right way.
- Choose one default box for the first half of the week.
- Choose one backup box that uses overlapping ingredients or sturdier pantry foods.
- Let repeated parts lower waste instead of chasing novelty.
Run a 10-minute snack-box reset after groceries or dinner cleanup
You do not need a full meal-prep block to make snack box lunches easier. A short reset is usually enough. Wash one fruit, prep one vegetable, portion one filling item, check one crunchy item, and make sure the lunch bag and cold packs are ready. That gives you several lunch parts without forcing you to assemble every box days in advance.
This is also where the real friction becomes visible. Maybe the box is easy but the dip containers leak. Maybe the vegetables are fine but the crackers go stale. Maybe the lunch bag is buried in a cabinet. A smaller reset helps you fix the actual weak point instead of building a bigger system than you need.
A quick snack-box checklist
Keep the reset small enough that you would still do it on an ordinary weeknight.
- Choose two snack-box combinations for the week.
- Wash or portion one fruit and one vegetable.
- Prep one filling item such as eggs, cheese, hummus, or leftover chicken.
- Restock one crunchy pantry item.
- Freeze the cold packs and place the lunch bag where you will see it.
Common mistakes that make snack-box lunches annoying
One common mistake is packing too many tiny items with no real anchor, which makes lunch feel more like grazing than eating. Another is using the wettest ingredients with no separation plan. A third is buying a special container set before proving that you even like the format.
Another trap is forgetting that simple lunches still need enough food. If the box is all produce and crackers with no filling part, it may not feel dependable. The better version is quieter: a few repeat components, sensible cold storage, and enough substance that the lunch actually replaces buying food later.
- Do not overpack tiny items just because they fit in compartments.
- Do not let wet fruit, vegetables, or dips soak the rest of the lunch.
- Do not assume the snack-box format makes perishable foods shelf-stable.
- Do not build the box so lightly that you still need a second lunch.
Make the snack box easier than buying lunch
A useful snack box lunch is not about making work lunch look cute. It is about removing enough friction that packing food feels easier than standing in line or paying for another rushed meal. When the components are familiar, the containers are simple, and the cold-storage plan is already handled, the format becomes surprisingly repeatable.
Start with two snack box lunches this week, not five. Keep the combinations that stay easy to pack, drop the parts that get soggy or fiddly, and let the system become simpler. If lunch feels easier to assemble and more likely to get packed again tomorrow, it is doing its job.
- Use a four-part formula instead of reinventing lunch every day.
- Keep wet items and crunchy items in separate lanes.
- Use the containers you already own before buying new ones.
- Pack perishable foods with real cold storage.
- Build the routine around two dependable combinations.